3D Printers
C1421: 3D printers
Click here for 3D Printer Tutorial
Booking
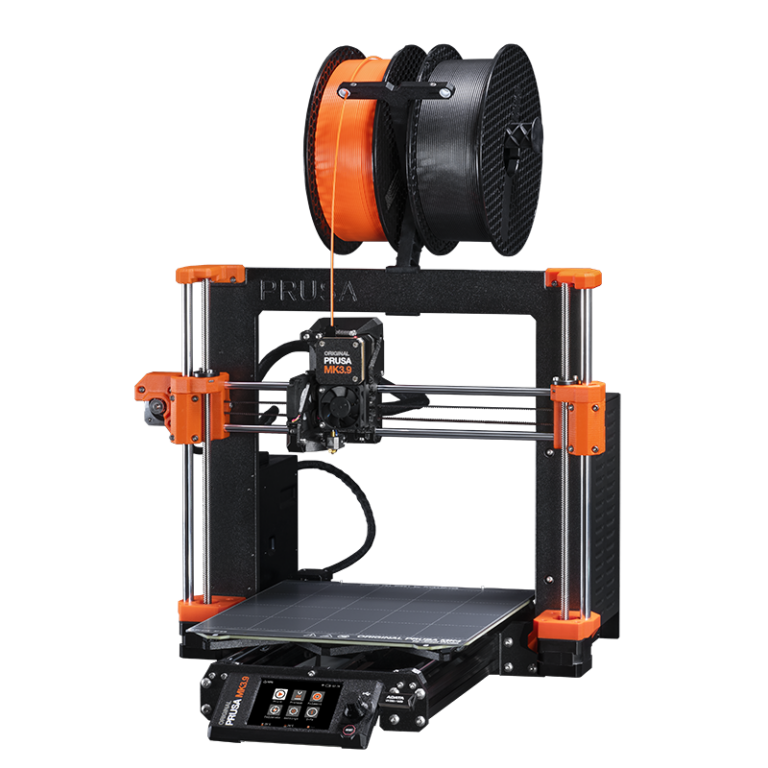
GDD has 2 Prusa i3 MK3S 3D printers available in the Workroom.
Click here to book the orange 3D printer: https://outlook.office365.com/book/UFVGDDLabTech@ufv.ca/s/ei8MRSxq_UyR8WVFkLa3RQ2
Click here to book the black 3D printer: https://outlook.office365.com/book/UFVGDDLabTech@ufv.ca/s/_3bCbLmn4kmCSlHCJJnflQ2
note
3D printers can be booked for 3 hour increments. You must book 24 hours in advance.
Fill out and submit a 3D Print Form before you start your print: https://forms.cloud.microsoft/r/wZ0tDKs3y0
How to Print
- All GDD Mac Studios have the slicing software called PRUSA Slicer. On your personal device, you can download and install it from here: https://www.prusa3d.com/page/prusaslicer_424/
- Load your .STL file in the slicing software and configure it as necessary.
- Slice it, and save the new file to an SD card.
- Insert the SD card into the 3D printers SD slot.
- Load the Filament into the 3D printer.
- Turn the knob on the display until you see your file then press the button.
note
SD cards Must be 32 Gigabytes or less. Larger cards will not work with the 3D printers.
Creating an .STL or OBJ file for printing
Click here for how to make a 3D print file
Adobe Illustrator
- Open a canvas in Adobe Illustrator and build any shape you want.
- Under "Window," click "3D and Materials" from the dropdown.
- Under the "Object" tab, click the "Extrude" icon.
- Here you can adjust settings such as depth, twist, and taper.
- At the bottom, click "Export 3D Object."
- Select OBJ under "Format."
- Lastly, click "Export."
Blender
- You can create or modify an existing .STL file using a 3D animation software such as Blender https://www.blender.org/download/.
- If you are starting from scratch, build your model then export as .STL or OBJ file.
- If you want to modify an existing .STL file go to file - import - STL.
Loading Filament
You will need to load the filament before use, and unload it and store when you are finished.
To Load Filament:
- Place spool onto printer's spool holder.
- turn the knob on the printer until it says "load filament" Press the button.
- wait until the nozzle heats up and lets you know its ready to load.
- take the end of the filament and start feeding it into the extruder until it grabs it and outputs some melted filament.
- select OK when prompted.
To Unload Filamanet:
- turn the knob until the dislay says "unload filament" press the knob
- gently pull filament up and out of the extruder.
- Respool the end of the filament, put it back in its zip lock bag, and store it.