Equipment Usage Guide
All GDD students can borrow equipment for one week. If your class requires you to book equipment, such as a camera for GD281, you may borrow if for the full semester. Lenses and tripods are still only bookable for one week. Lenses are limited to one per student.
Please visit https://app.cheqroom.com/ or download the mobile app for iPhone or Android to reserve and book equipment.
Use your student email address to log in.
Wacom Tablet + Pen
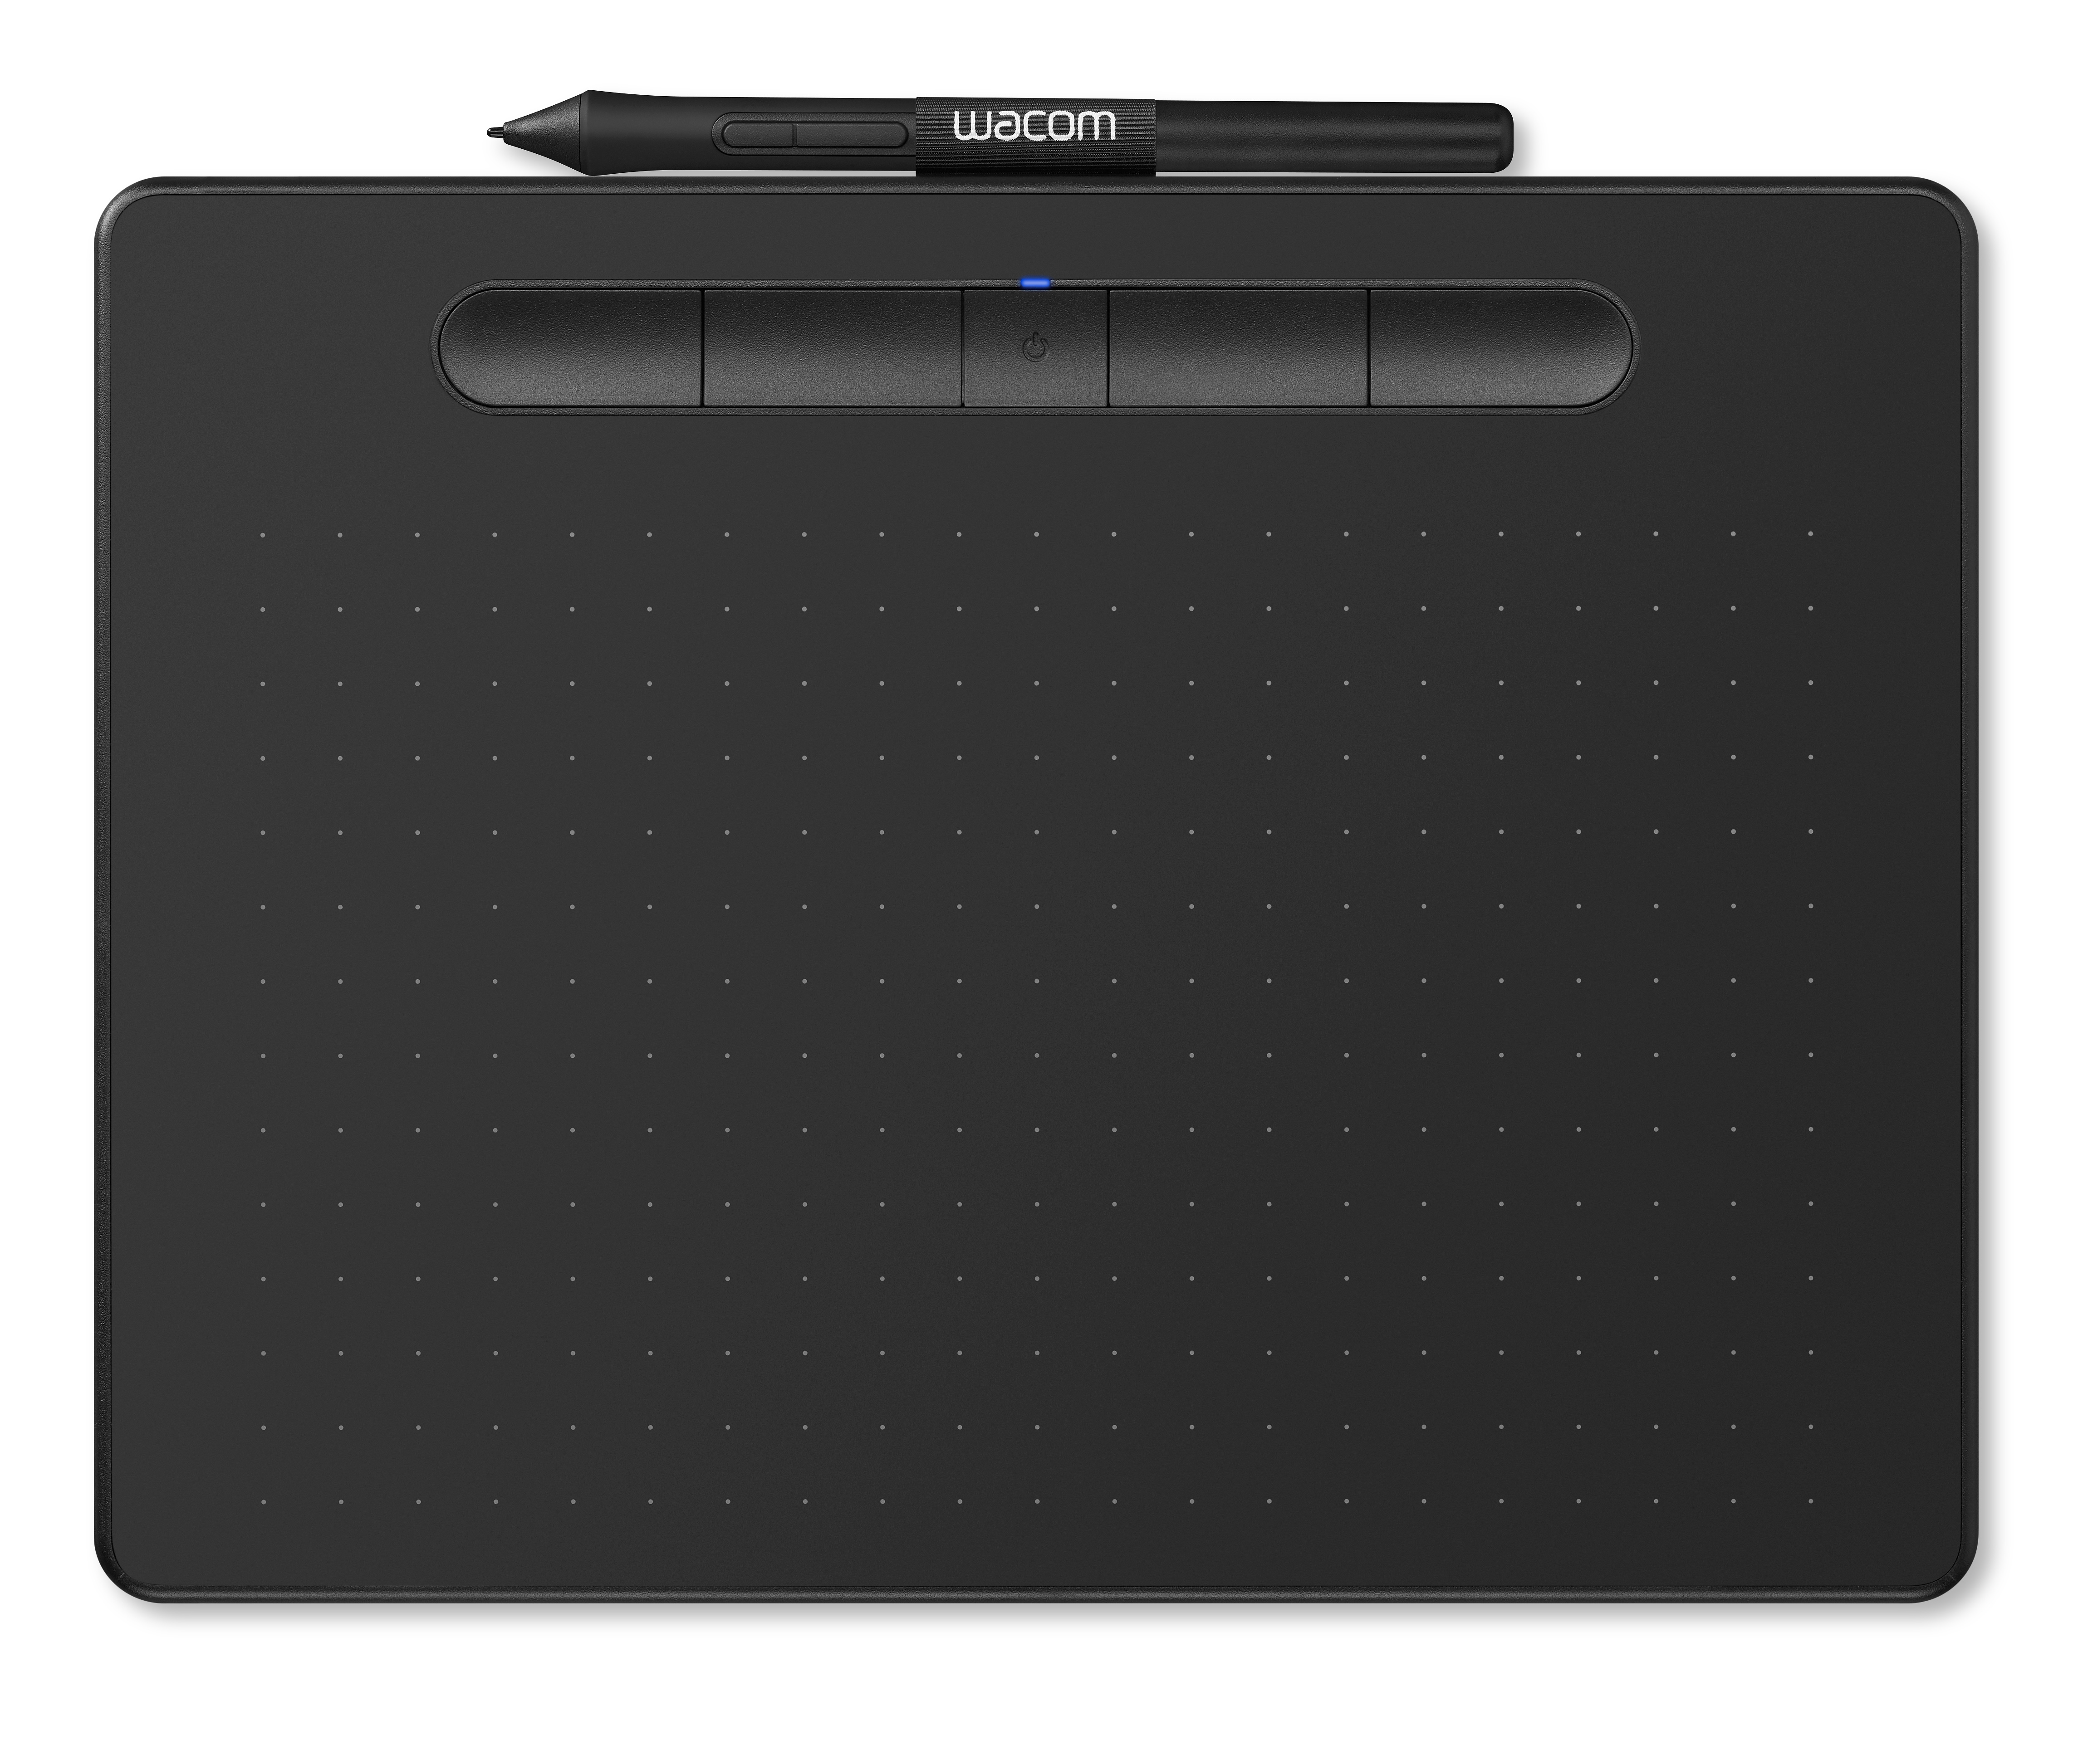
Installing the Wacom driver:
- Visit https://www.wacom.com/en-us/support/product-support/drivers and download the driver.
- Plug the device into your Mac using the USB cable.
- Run the installer.
- After the installer is complete your Tablet & pen should work like a mouse.
Programming the buttons:
- Locate and open the "Wacom Tablet" folder in your Apps folder.
- Launch the "Wacom Desktop Center" App.
- The software should recognize your tablet under "My devices" (If it's plugged in), click it.
- Click "Express Key Settings"
- From here you can choose one of the 4 buttons and pick its function from the drop down (Such as Undo)
Programming the pen:
- While in Wacom Desktop Center you can also program the pens 2 buttons.
- Click Pen Setting.
- From this menu you can change the Button mapping of the pen as well as some other features.
For more information regarding the use of the Wacom Tablet please visit: https://cdn.wacom.com/u/productsupport/manuals/Wacom1/User%27s%20Manual.pdf
Canon T5i/T6i/T7i DSLR Camera
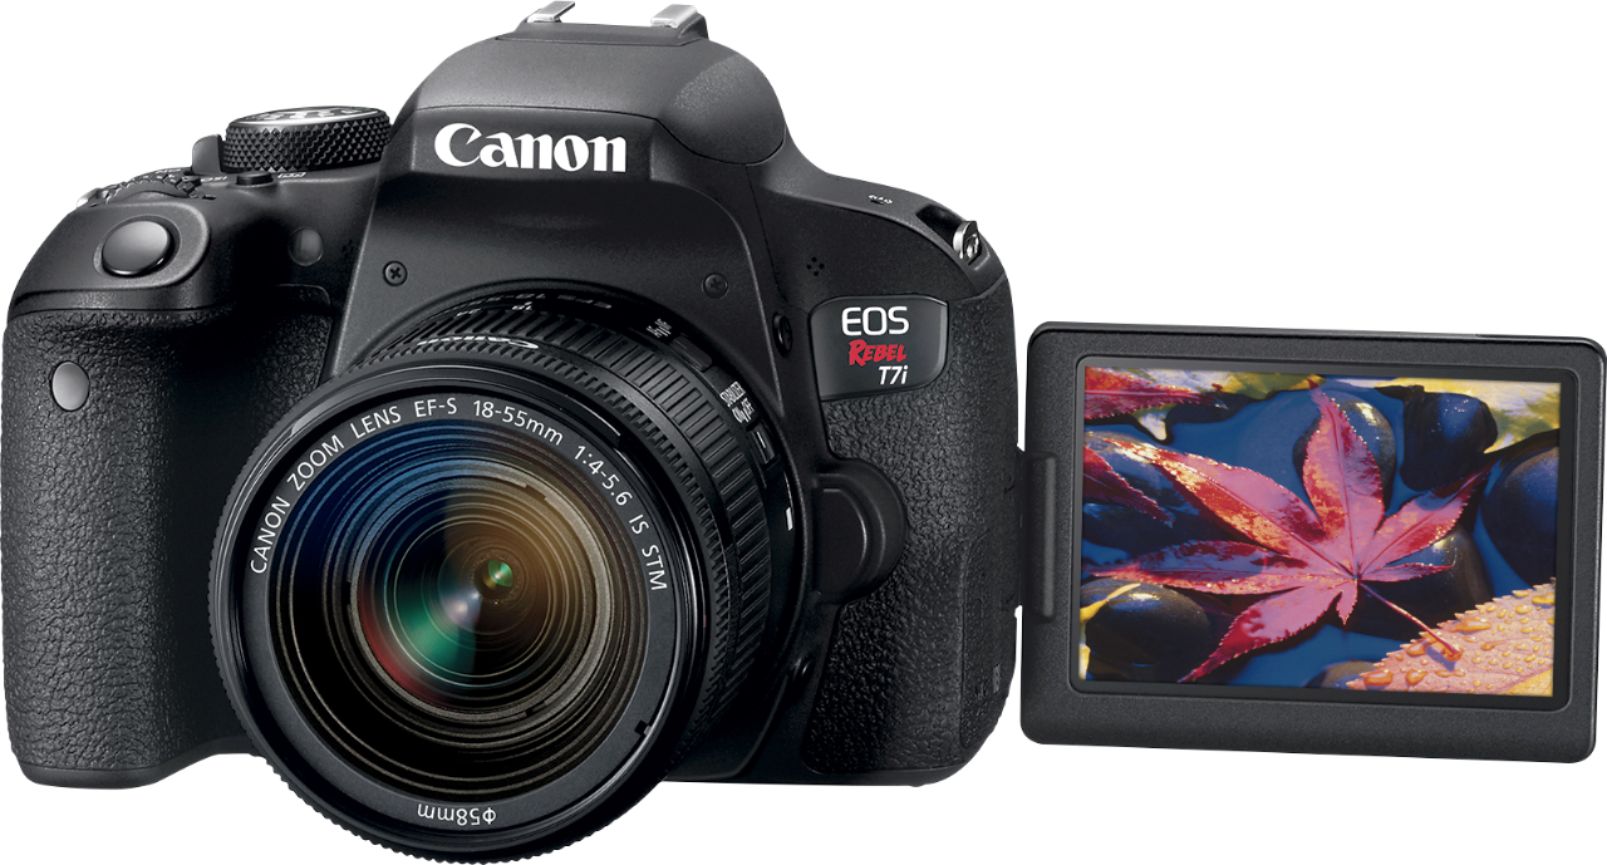
Every camera comes in a carrying case. Check the 2 side pockets for the charger and the battery. Flip the camera upside down and press the battery cover button and insert the battery. Next check the sides of the camera for the SD memory card slot. Open up the slot and insert the memory card.
If the battery is dead you will need to remove the battery and use the provided charger.
DSLR Camera Basic Operations
DSLR (Digital Single Lens Reflex) cameras such as the T7i can be quite complicated to operate, but the following are some instructions to get started:
note
You will need to set the camera to manual mode using the round dial on the top of the camera to change these settings. Turn the Mode Dial to M.
Setting the Aperture
The Aperture is the hole in the lens that lets the light into the camera. Changing the size of the Aperture will change not only exposure but also the depth of field.
For instance an Aperture of 1.4 is wide open and will let in a lot of light, and also blur the foreground and background of the subject.
To set the Aperture you can hold the AV button on the front and turn the Main Dial on the top of the camera.
Setting the Shutter Speed
The Shutter speed on the camera controls how long the incoming light projects onto the sensor. A fast shutter can freeze moving objects in place but may not allow enough light to properly expose the image, and a slow shutter may let enough light in but may blur the subject.
To change the Sutter Speed, turn the Main Dial on the top of the camera until it displays your desired Shutter Speed.
Setting the ISO*
Shooting in low light? Use the ISO or Film Speed settings to adjust for that.
Press the ISO button on the top of the camera and use the Main Dial to change the ISO. Keep in mind the higher the ISO the more grainy your photo will be.
All 3 settings Must be in balance of each-other for a proper exposure.
iPad/Pro
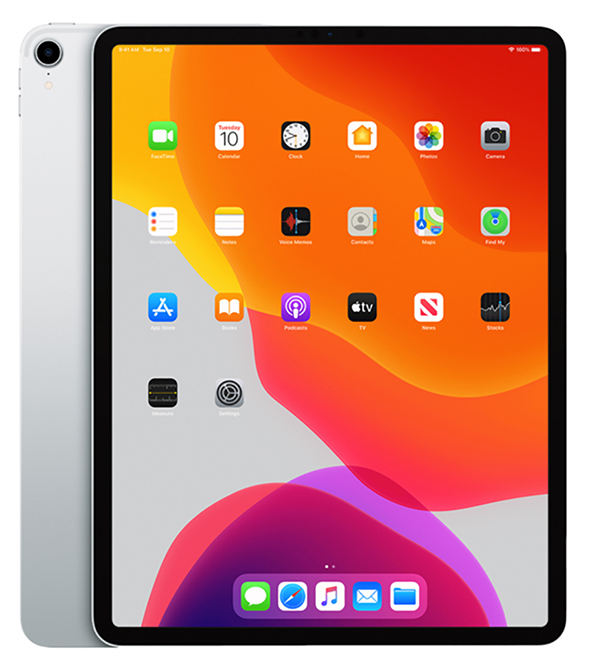
iPad/Pro will come with an Apple Pencil. To charge the pen please clip the adaptor to the end of the pen and plug it into the wall using the iPads included charger. You can check the Apple Pen's battery charge % in the settings menu of the iPad.
Every app you need will already be installed into the iPad.
Camera Lens
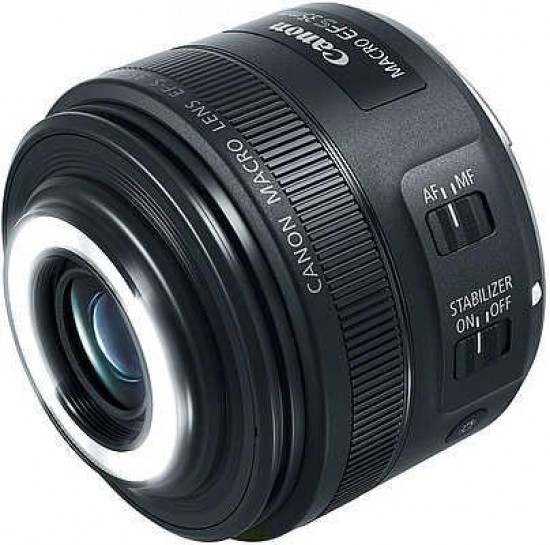
There are a few lenses available to book. the available lenses will only work with DSLR cameras.
To remove a lens from your DSLR camera press the lens release button on the camera body adjacent to the lens and twist the lens counter clockwise and lift.
To attach a lens, first line up the dots (either red circle or a white square) depending on the lens. and rotate clockwise until you hear a click.