Welcome Back!
We're so excited to have you back

We're so excited to have you back
Almost every time I have someone coming to me to complain about either a lack of hard drive space or the computer running slowly, the first thing I do is install a drive space scanner. On Mac, this app is called GrandPerspective http://grandperspectiv.sourceforge.net
You can either download GrandPerspective from the Sourceforge link above for free or from the App Store for $2.99. You'll get the same app either way. When you get it from the App Store, you know that it has passed Apple's review and quality control. You receive automatic updates, help cover distribution costs, and support further development. But the Sourceforge link is legit from the developer.
A Windows alternative that exists is WinDirStat https://windirstat.info/
When you download and run the app, select the drive you want to scan, and you'll see a screen with a bunch of blocks, with the larger blocks being the larger files and the smaller ones being smaller. This allows you to easily see what files are taking up a lot of space.
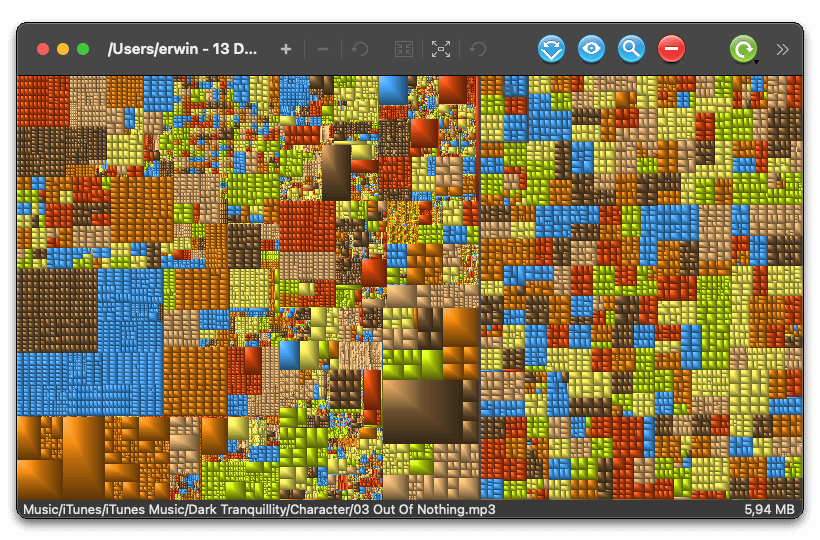
Be very careful when deleting files after you discover large files in this app. Some large files are required for your computer to operate. But video, photos, and other files are great to find here and either move to a backup drive or delete if no longer needed.
SelfControl https://selfcontrolapp.com
Apparently, the average human attention span is reduced to about 8 Seconds. Even if we can get down to work, our phones buzz, an email comes in, or something else pops up to distract us. Using an app like SelfControl in conjunction with Do Not Disturb mode can be great for reducing distractions. Even if we open up a web browser to search for stock photos or typefaces, we can sometimes reflexively open up YouTube or other distracting sites.
A paid version that I switched to is https://freedom.to/ as it is more robust and can sync across devices.
NightOwl https://nightowl.kramser.xyz
With dark mode being included on the latest macOS versions, a tool like this makes it super easy to swap dark mode on and off in your menu bar! Simple and sweet.
Rectangle https://rectangleapp.com/
Rectangle brings one of my favourite features from Windows to macOS easily snap applications and other windows to a grid on your monitor!

Unarchiver https://theunarchiver.com
Using this app allows you to extract RAR, ZIP and TAR files; unlike the built-in mac extractor, it also allows you automatically delete the original compressed files to save space while keeping the extracted files.
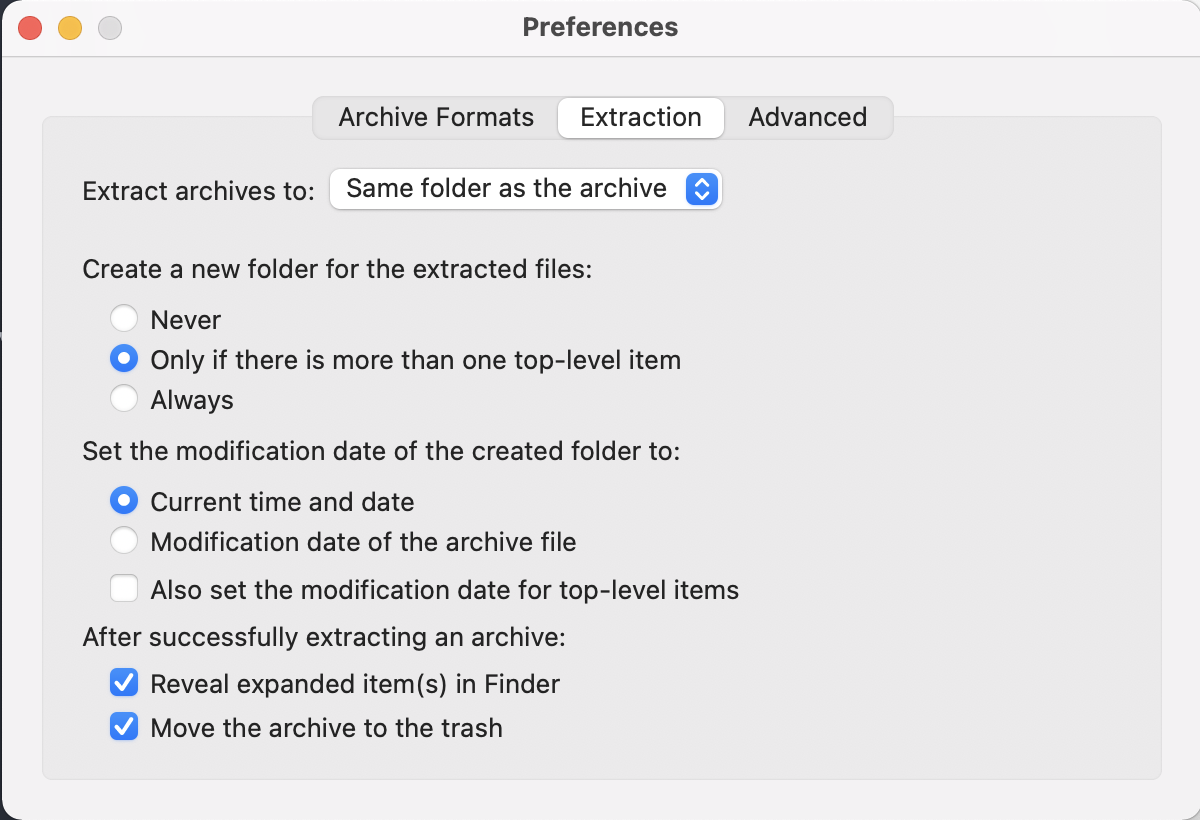
Just open up the app from your applications folder after installing and set the extraction preferences to your taste.
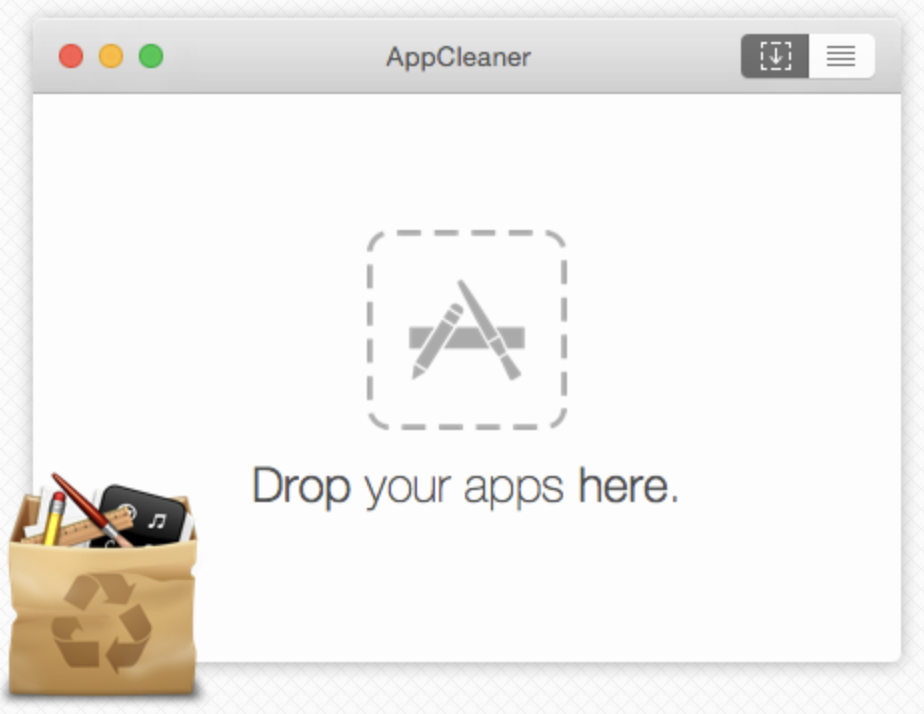
AppCleaner https://freemacsoft.net/appcleaner/ Pairs Well with GrandPerspective
Sometimes when you uninstall an app, it leaves behind a whole pack of folders hidden away in your system library. This app allows you to choose whether to keep or delete those folders when you uninstall something.
CheatSheet https://www.mediaatelier.com/CheatSheet/?ref=producthunt
This is a great little app that will come in handy, especially as you start to learn the Adobe suite, once installed and enabled in system preferences:
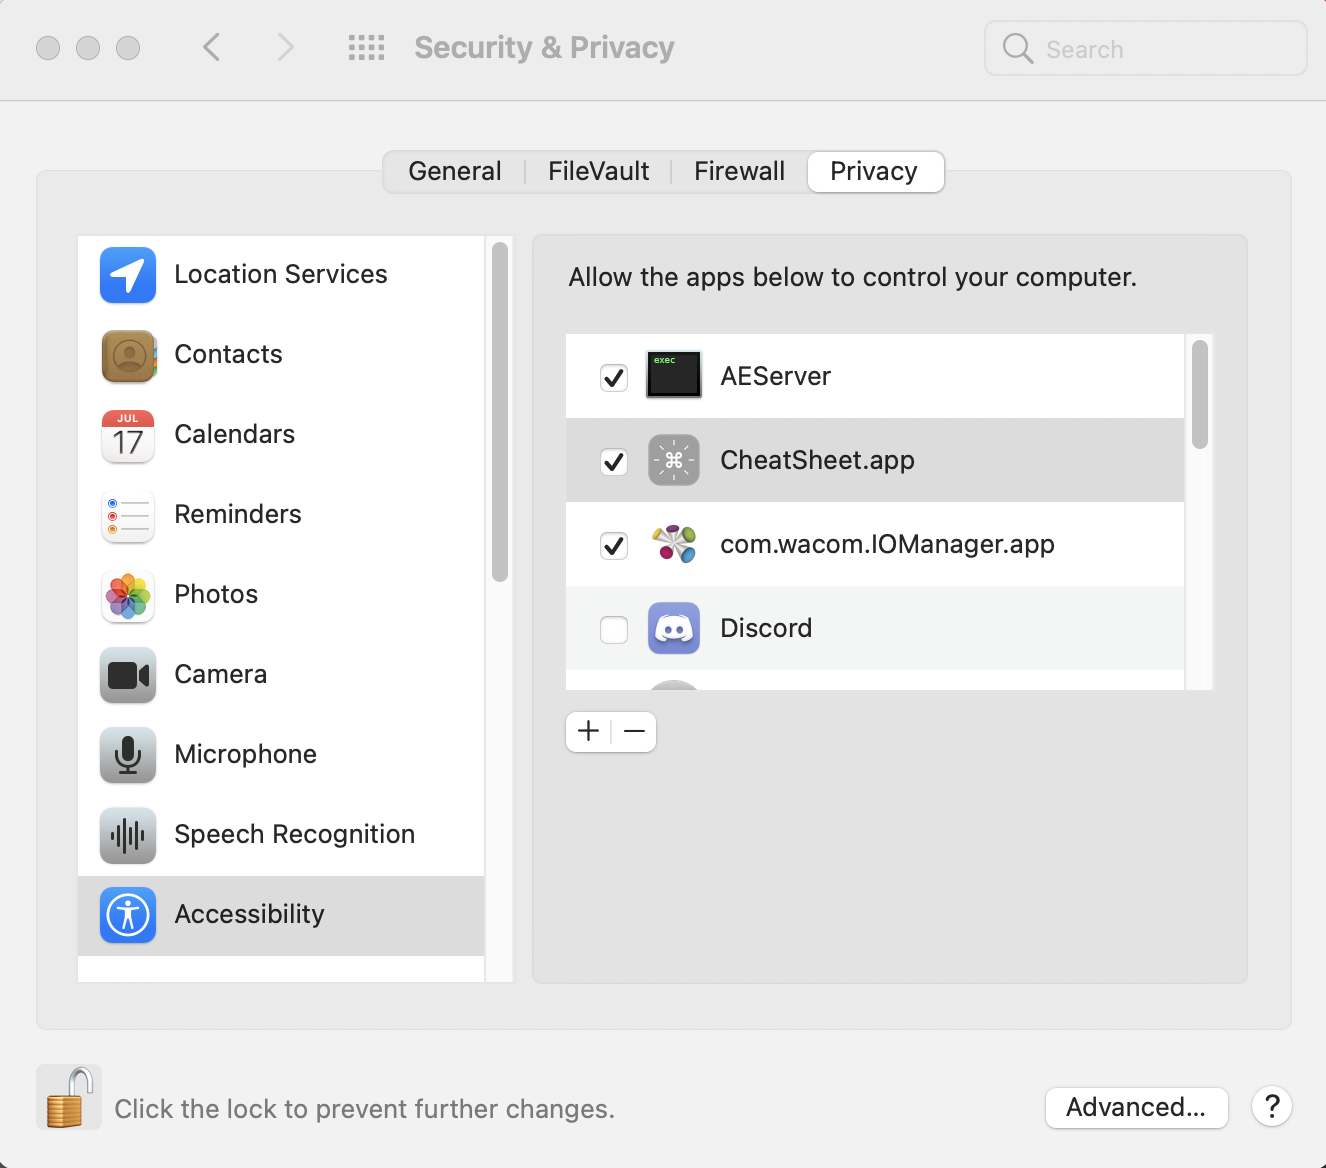 You simply hold down the CMD key, and a screen pops up with all the shortcuts for that app!
When I first started studying design, I heard a few times:
Hey, you should learn how to use a drawing tablet for everything; it's faster and way more ergonomic than a mouse.
Not a tablet just for drawing, but as an only alternative to a mouse. Overall, I ignored this advice, as you get so used to using a mouse for so many years that using another device like a drawing tablet just took too much effort to re-learn habits with it. As I started working full-time as a designer, I wished I was better at using a drawing tablet, but I couldn't afford to dedicate the time to learning with it to utilize it to its fullest.
I say all that because I also have regretted not learning about markdown text sooner (As a side note, this whole website was written with markdown).
Markdown has existed for a long time but started to gain popularity in 2004. You can read more about the history of markdown here if you are interested. But basically, it's a form of text formatting without the need of a word processor, and loads of things use it.
Because markdown is such a well-supported text format with a markdown editor, you can export to nearly any file format you would need: PDF, rich-text, or even full HTML web-pages.
If you are writing HTML pages, writing in markdown can save you time by not worrying about closing tags. No mouse is required as it would be in some text-editors to click bold or create a table. But not only that, but the final document is easy to read as the formatting doesn't get in the way (unlike actual HTML)!
If you've ever created a Microsoft Word document, and years later tried to open it up only to discover that you don't have it installed anymore because you switched to Google Docs or Apple Pages... well, fear not; because markdown is system agnostic, which means it isn't actually tied to anything you can open it up in something as simple as a text editor (e.g. notepad.exe or TextEdit.app) or a specific markdown editor
Chances are you probably already know some of it and don't even know it. If you've ever written a message and tried to *emphasize* it by adding Asterix to a word, then you already know a basic markdown.
You can watch two minutes of this video to get the basics:
An easy to follow syntax guide is here: https://docs.github.com/en/github/writing-on-github/basic-writing-and-formatting-syntax
Once you know a bit of markdown, apps you use every day probably already support it to varying extents; Slack, Discord, Facebook Messenger, and lots of desktop email clients. Wikipedia even uses a modified Markdown syntax they call wikitext.
Is your MacBook (even if it's new) running really slow? It could be chrome; even if you uninstall or don't have it open, it can slow down your computer with an update service it runs in the background. This video has some more info. If you need any help uninstalling, even if just temporarily, you can follow this tutorial or reach out to me for help.
So for anyone updating to Big Sur and using a Razer Synapse 2.0 v1.88.20.
After 4 hrs I found this online. After update to Big Sur Synapse was loading for me but was not detecting devices.
manually running
sudo kextload /Library/Extensions/RazerHid.kext
will error suggesting to Approve extension via System Preferences.
3rd Party extension popup and Allow never showed up in a pane.
Booting in to recovery cannot be done remotely. Please proceed at your own risk.
After digging around and looking up Razer TEAMID R2H967U7J8 I was able to manually adjust security settings:
/usr/sbin/spctl kext-consent add R2H967U7J8/usr/sbin/spctl kext-consent listAllowed Team Identifiers:
R2H967U7J8After this I was able to execute
sudo kextload /Library/Extensions/RazerHid.kext
Got popup and Allow button in System Preferences.
Allowed extension and restarted.
Got my Deathadder Elite back in Synapse after reconnecting it.
Addionally if you want to have control over mouse acceleration, as MacOS does not give us this control run the following command:
defaults read .GlobalPreferences com.apple.mouse.scaling
This will output a value, anything from -1 to 3; -1 being off and 3 being max.
To set acceleration just change read to write in the above command. I cannot stand any mouse acceleration, so I turn it off:
defaults write .GlobalPreferences com.apple.mouse.scaling -1
Hi everyone, and welcome to the GDD Lab info documentaion.
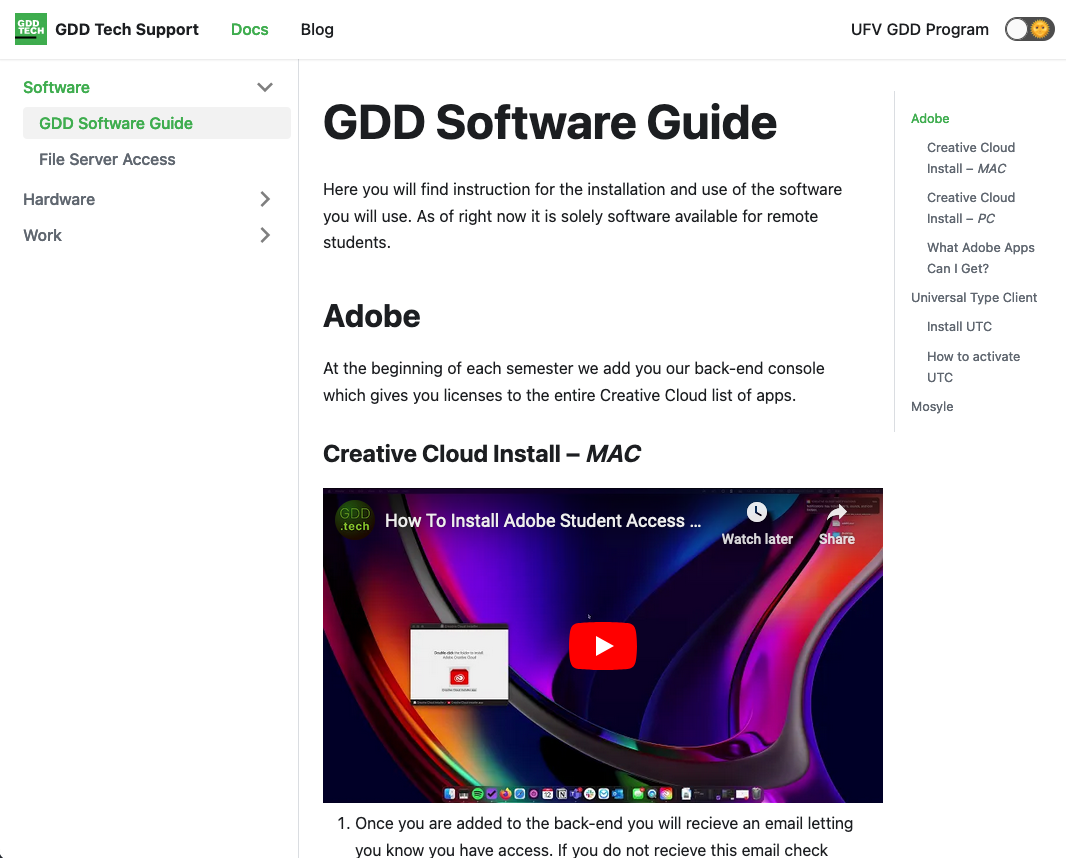
If you have never used a documentation type site before it might be a bit confusing to look at but it's quite simple to use!
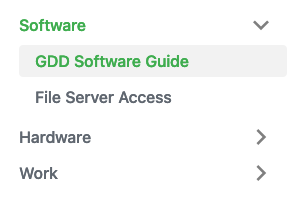
On the left hand of the screen you'll see a menu of the different guides:
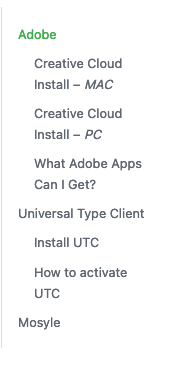
And on the right side of the screen you'll see a menu to navigate within the guide itself:
Only the left menu is avaible on mobile, just click the hamburger menu button at the bottom of your screen.
If you are wanting to share or save a link to a particular point within hover over a heading and click on the # green hash.
There's even a dark mode toggle, just click the sun switch!
![]()